Making a Raycast Wallpaper
Here's our 6 step guide on how you can make your own Raycast wallpaper for your desktop (or even your mobile and tablet).
At Raycast, Designers will create new designs in Figma, and put together a series of screens for the flow they're working on. Behind the app interface, a gradient color will be applied to give the impression of the real thing, and the app being used in context.
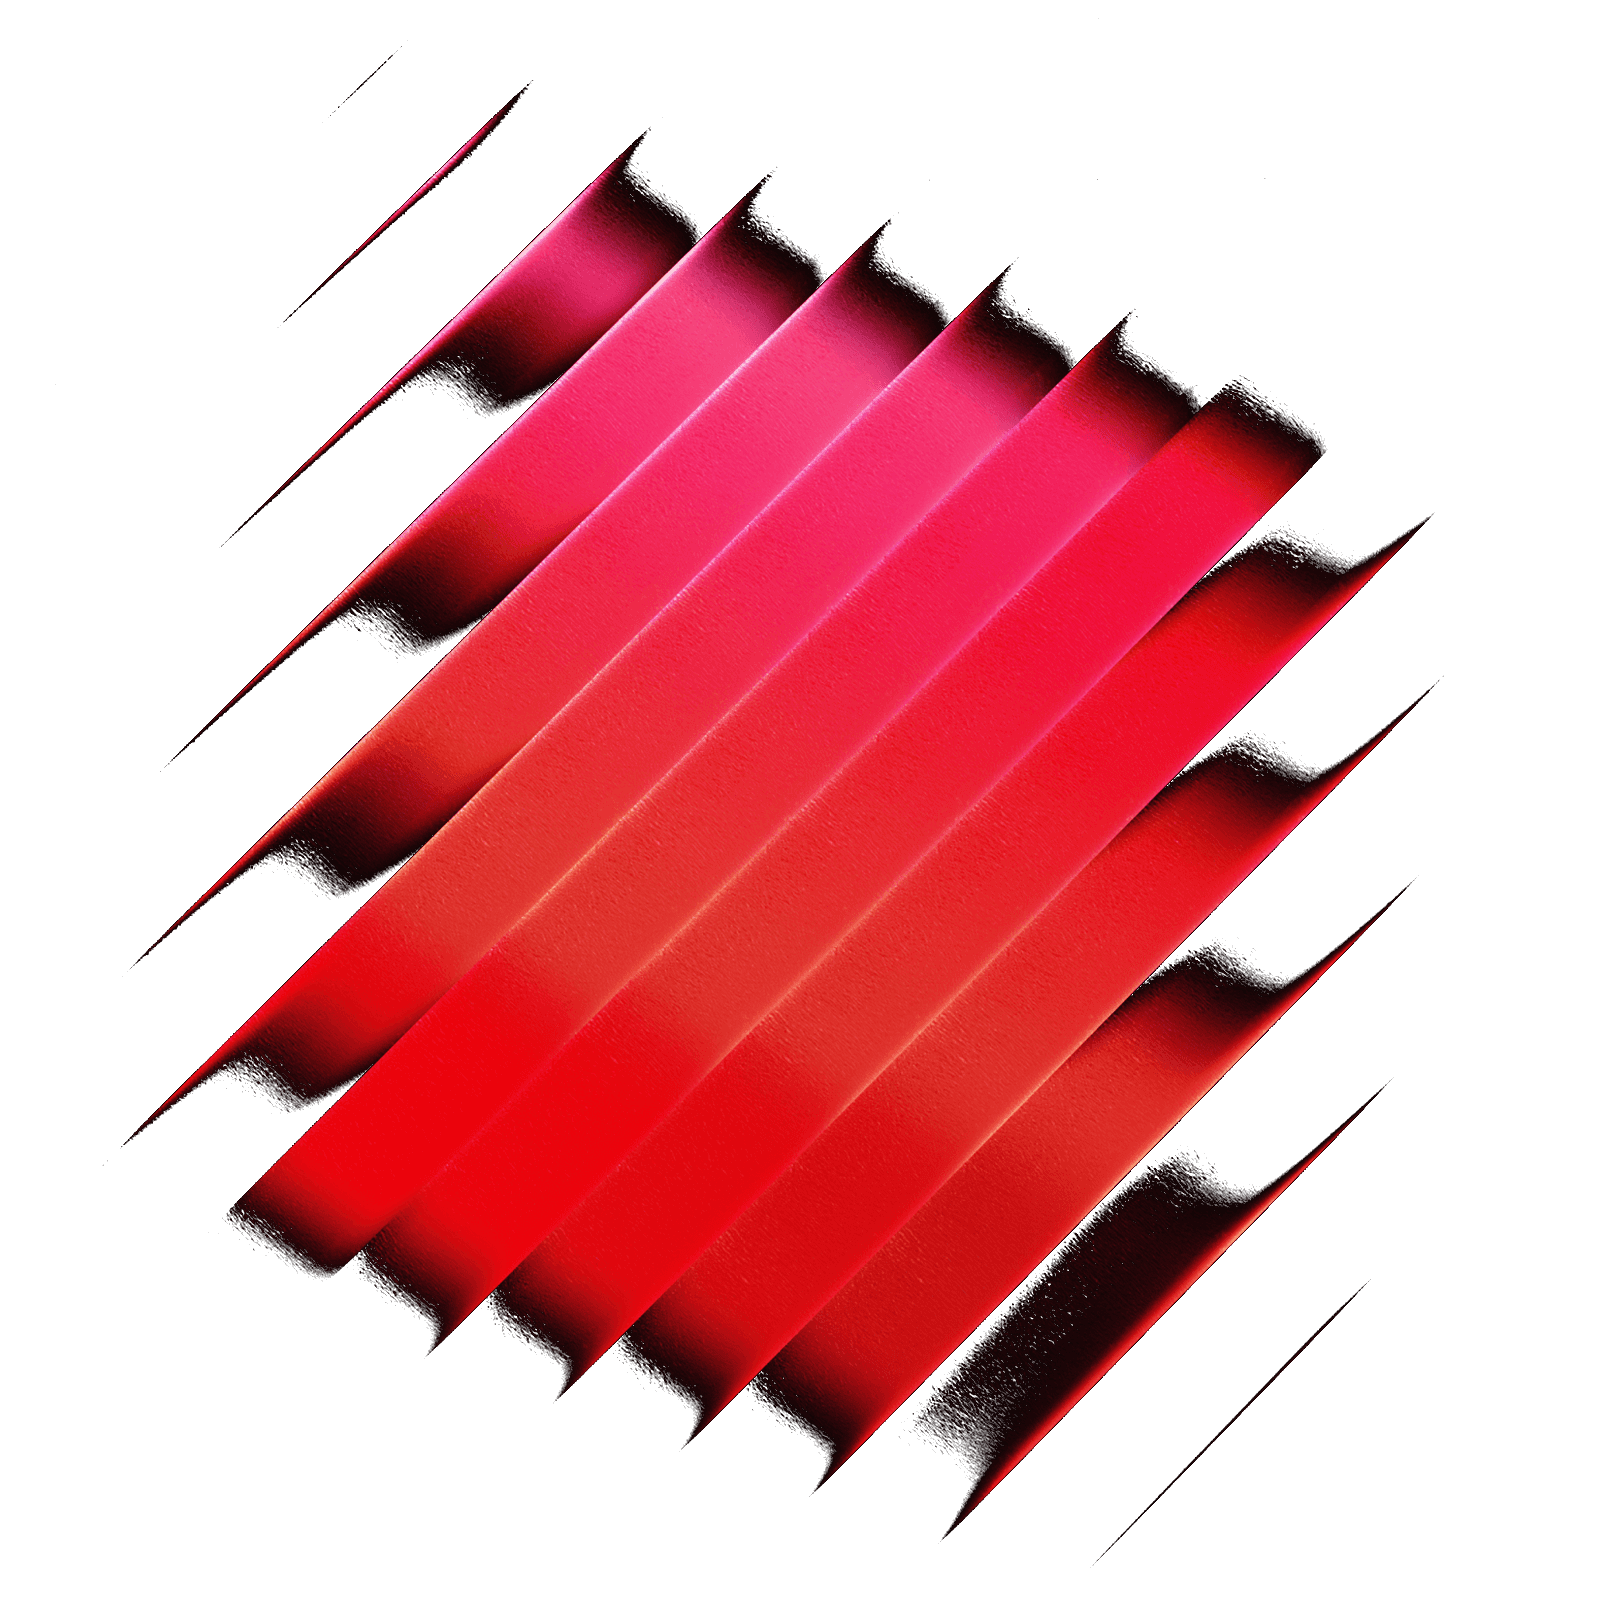
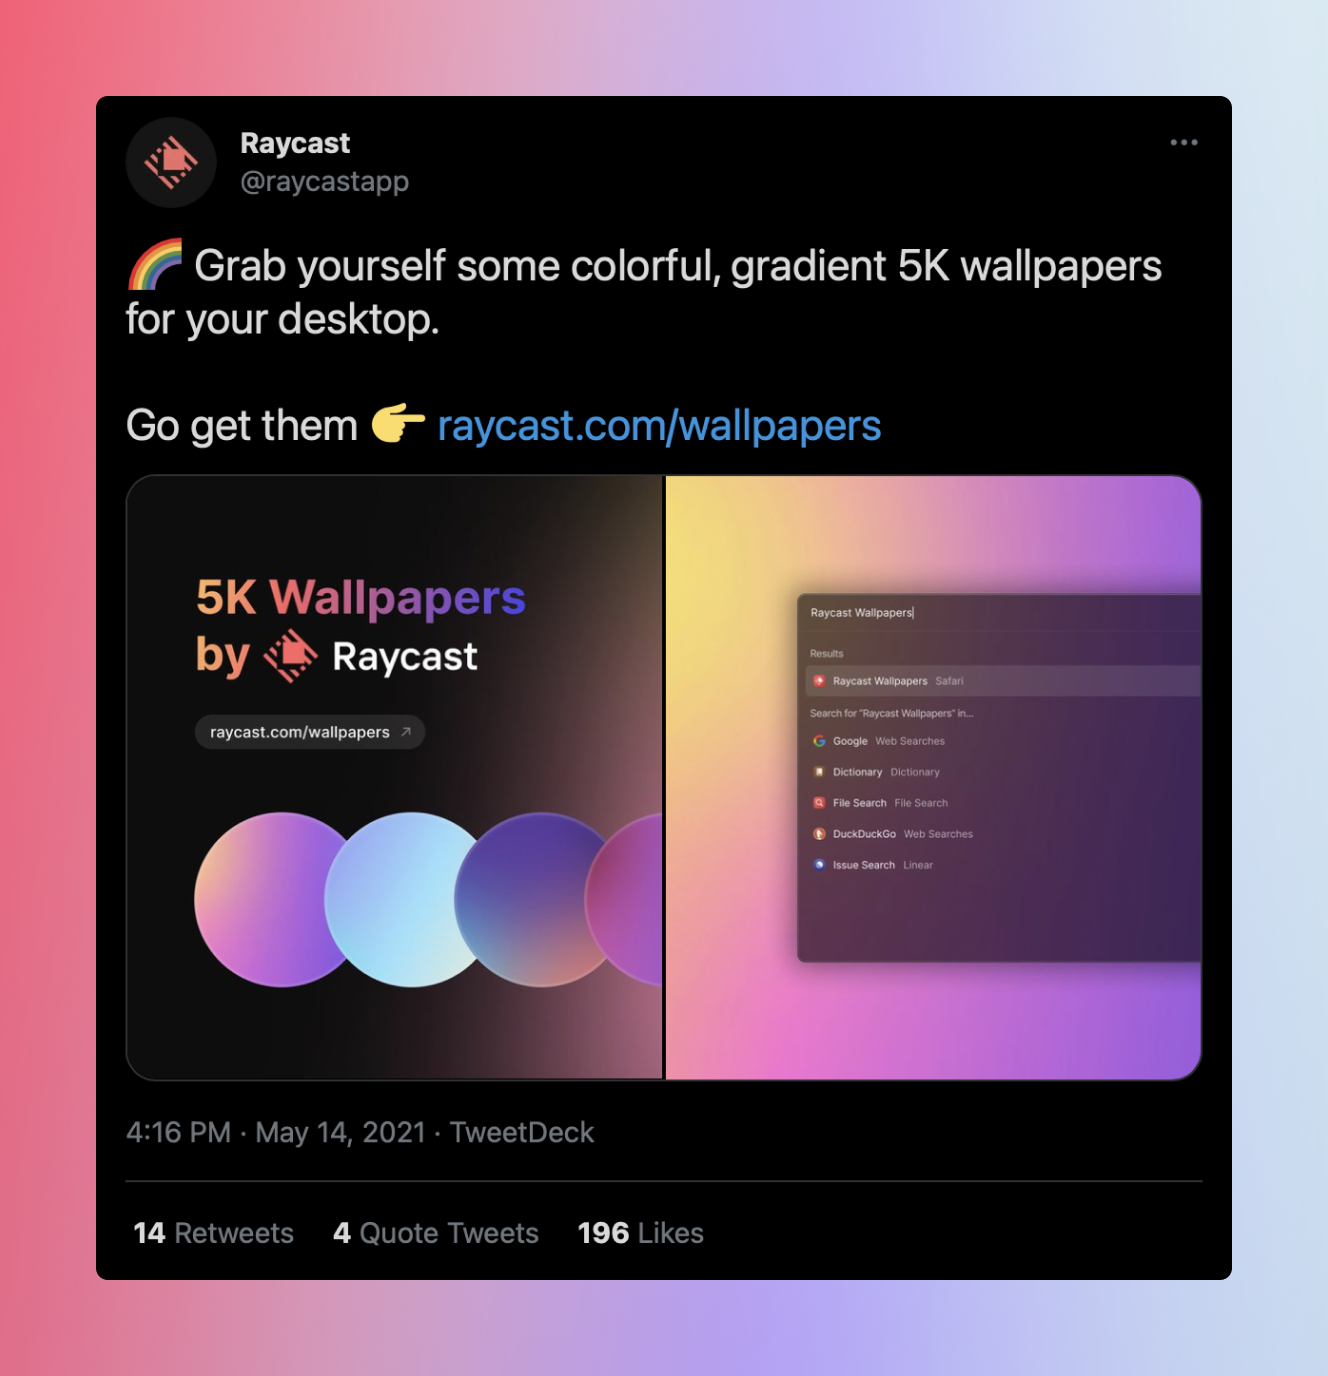
Those placeholder wallpapers occasionally get turned into wallpapers for our desktops (sometimes spotted in our Friday demo's), and so we made a repository for some of them to be shared and downloaded with you, our community.

After an overwhelming response to them (both internally, and externally), later down the line we were asked if we could share how we make them. And so here we are.
This is by no means the only way, or the right way. But it's an easy way that we use to create nice, colorful wallpapers.
The Guide
What you'll need to get started:
- A design tool of your choice. We use Figma at Raycast – it's free, and available on Mac or Windows. You can also use Sketch, Adobe XD, or Framer to name a few.
- Some colors or inspiration in mind. It's good to have an idea of the colors you want to blend (not the exact hex codes just yet).
- A little bit of patience. It might not be perfect to start with, but moving some bits around and adjusting it as you go will lead you to a nice final result.
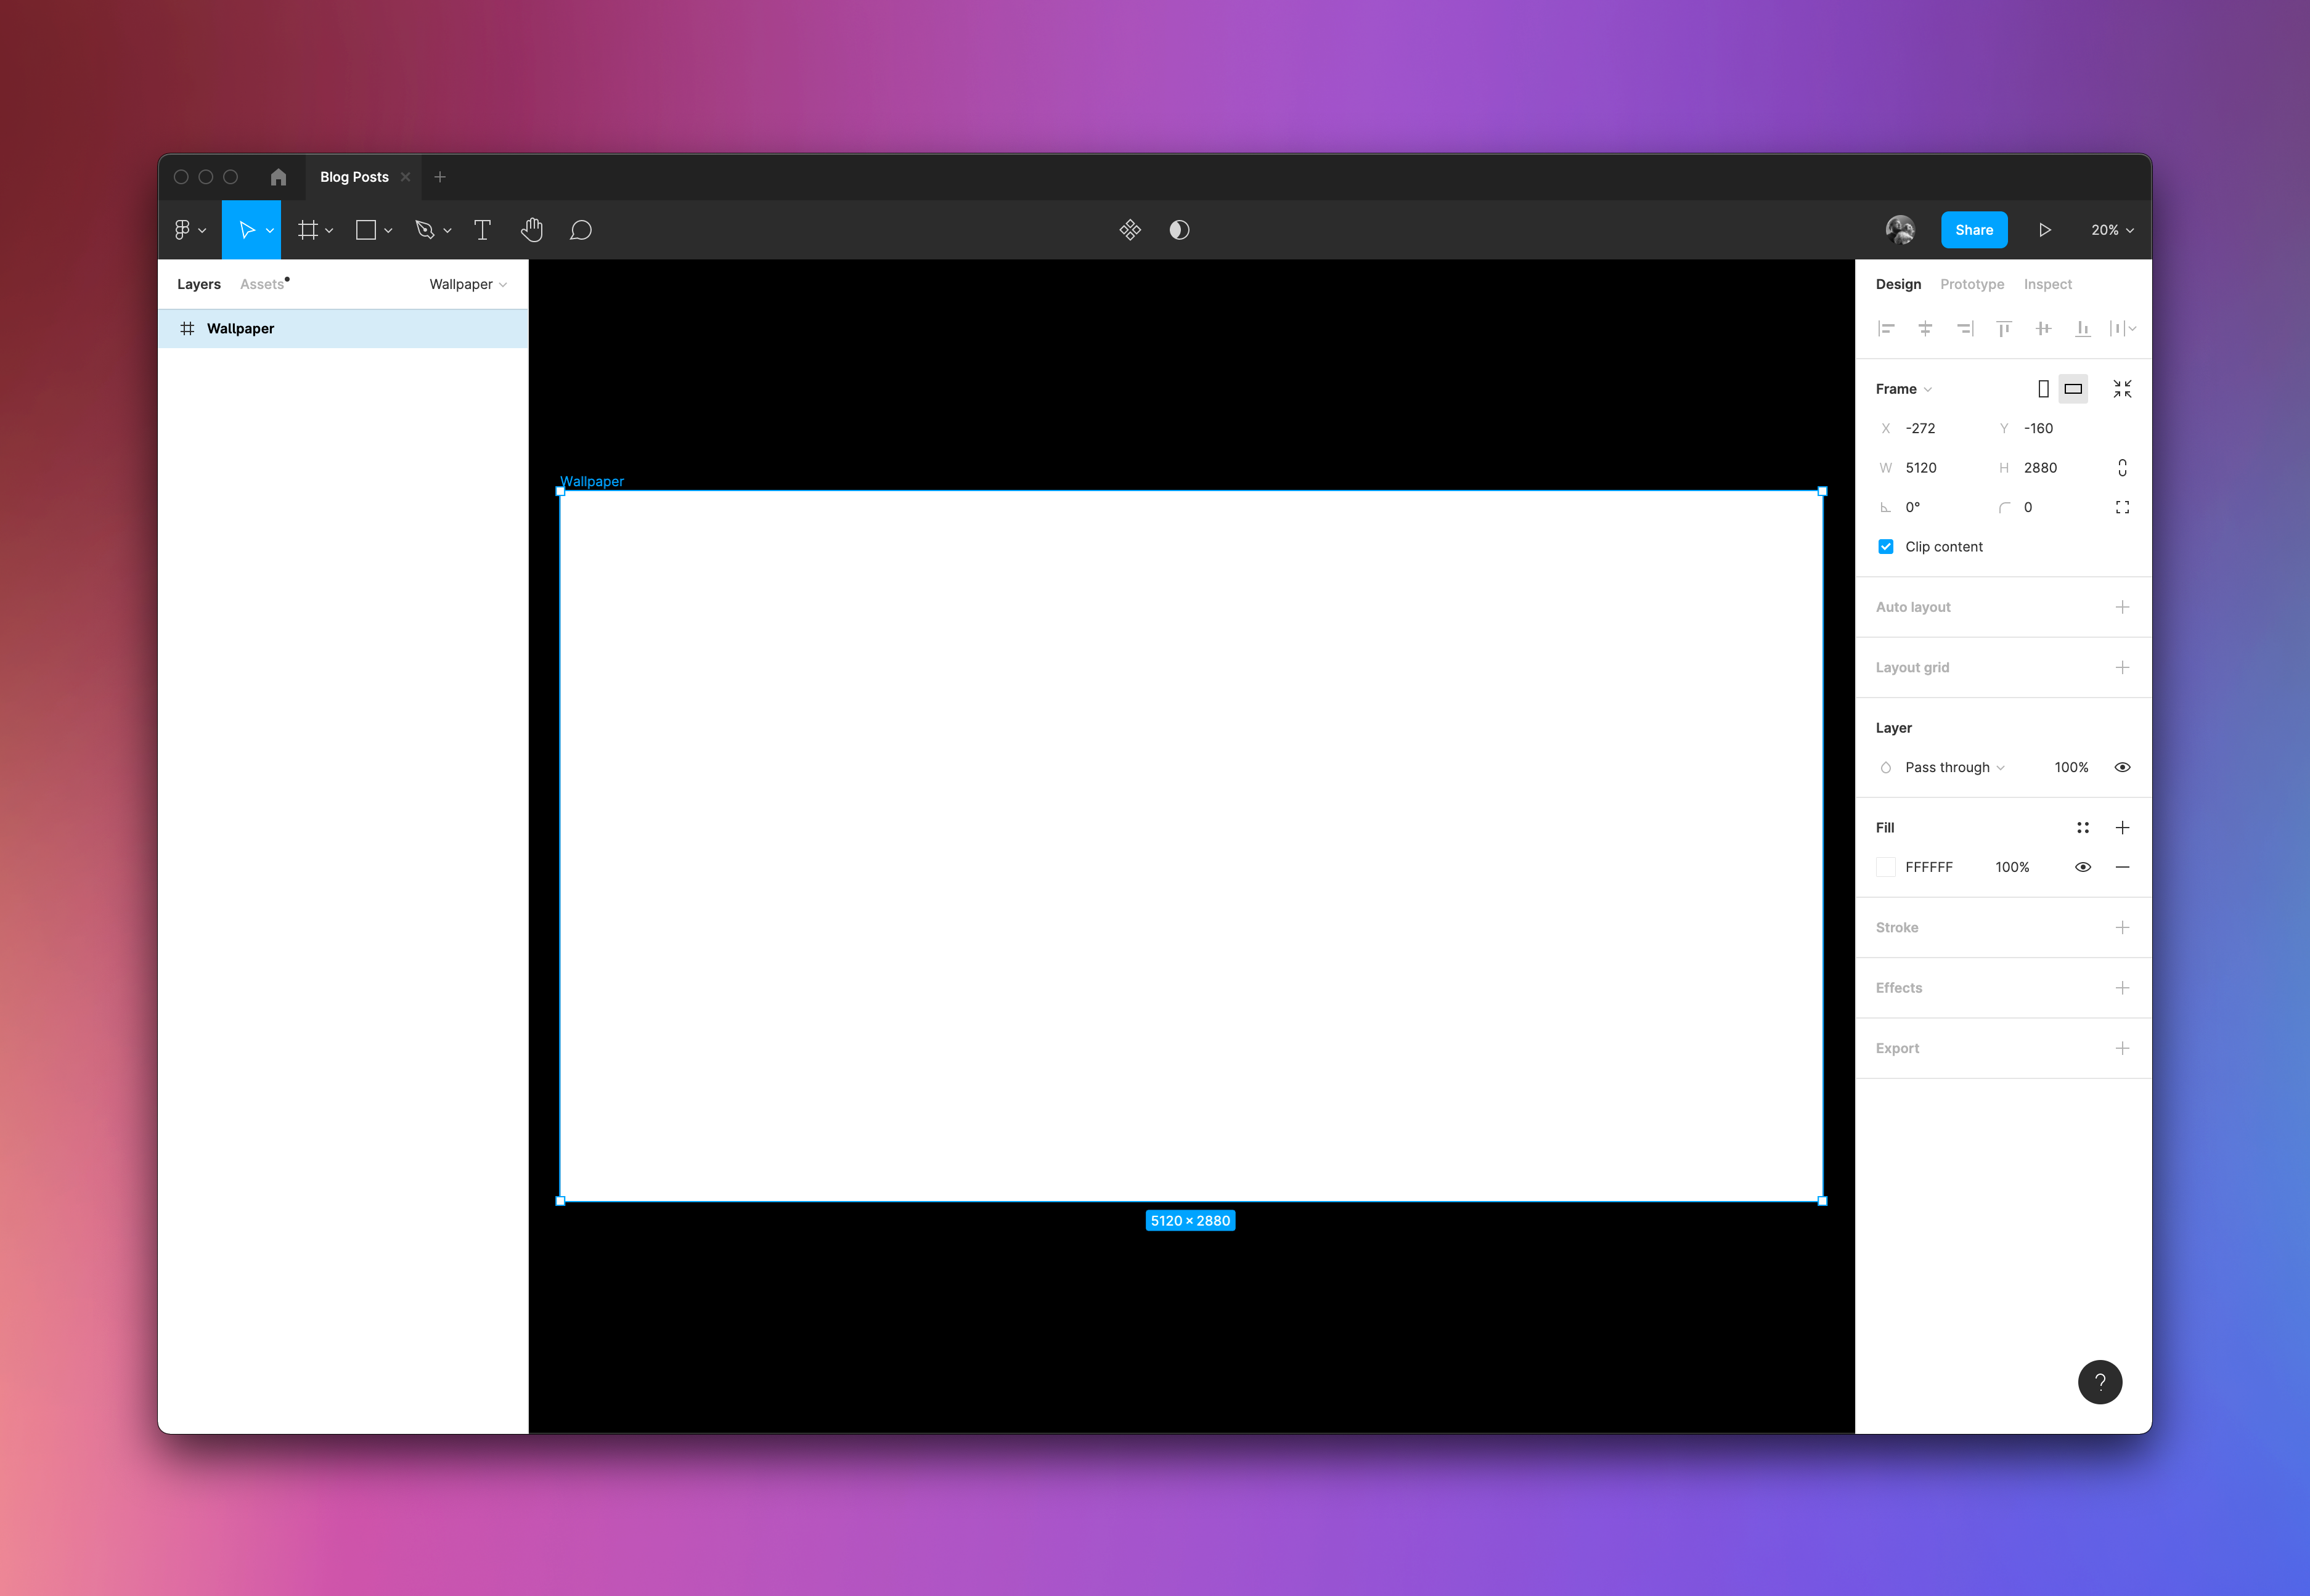
Step One
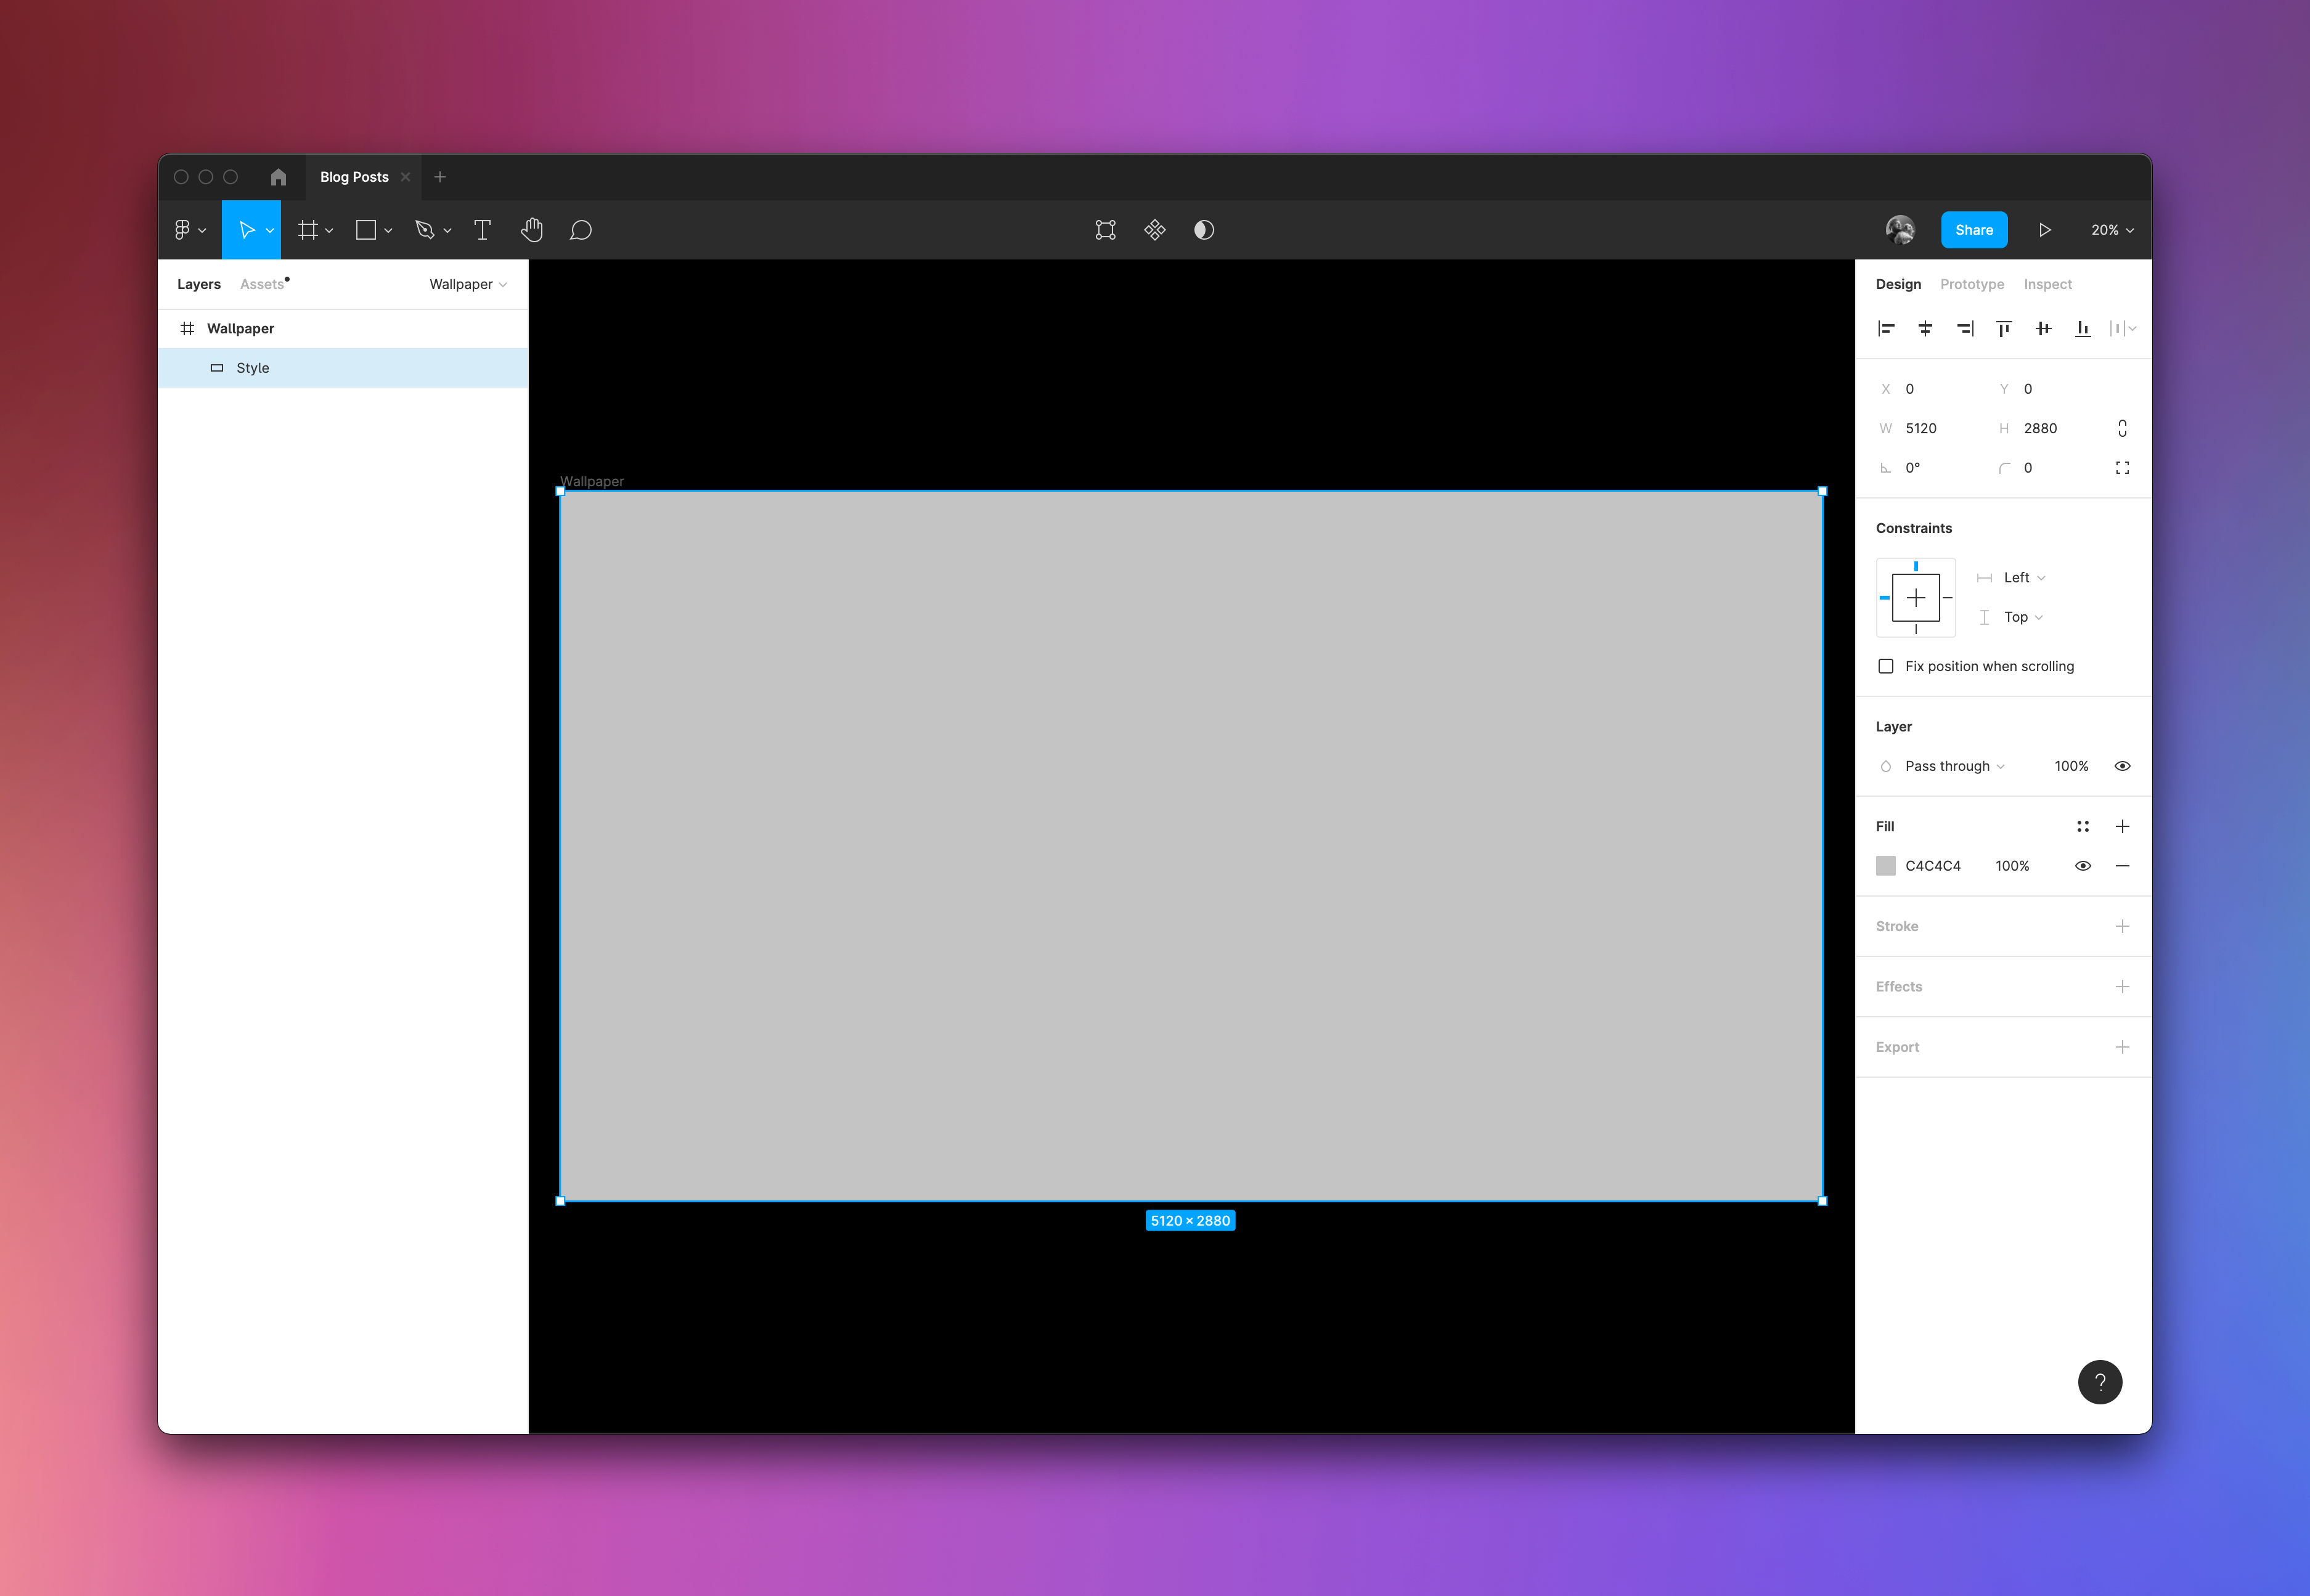
Create your frame – we usually design the wallpapers for 5K at 5120 x 2880 px. You can set it at the resolution you're designing for (for example, 1170 x 2532 px for the iPhone 12 Pro, or 2048 x 2732 px for an iPad Pro, etc).
Your frame will be used as the base of your wallpaper; think of it as the undercoat when painting a wall. Remember that for later.
Step Two
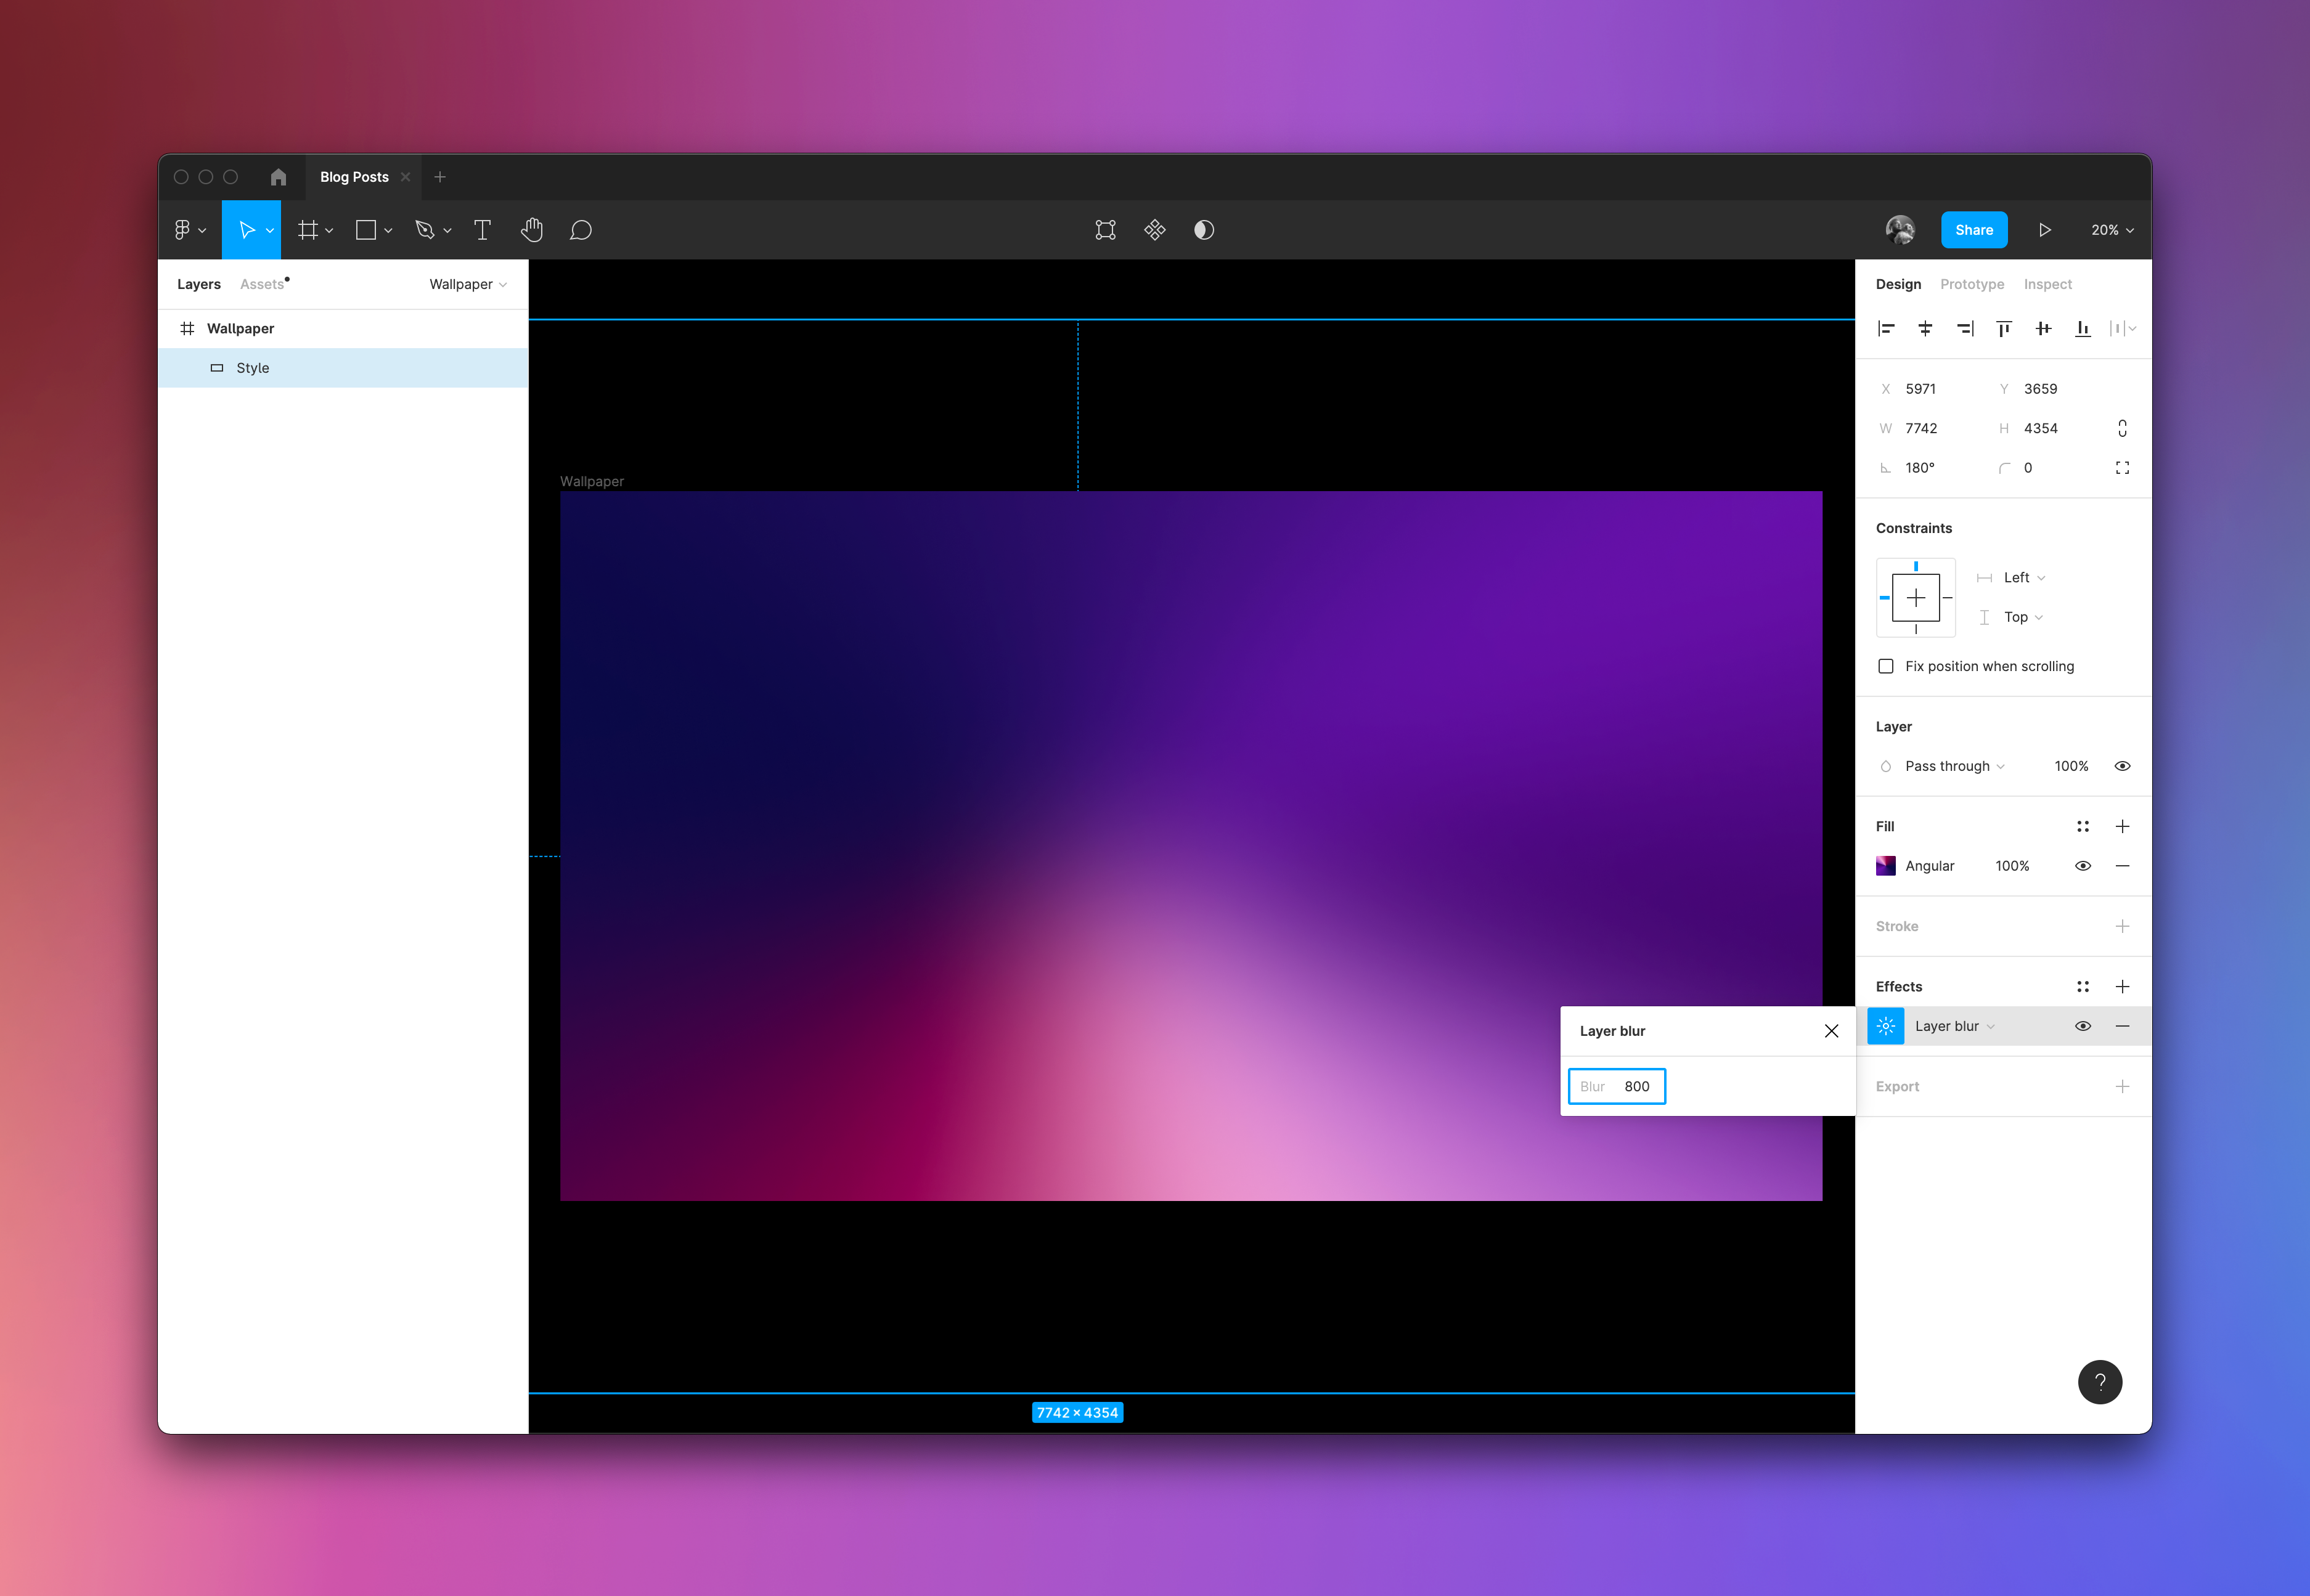
Add a new rectangle shape layer to your frame that fits 100% of the width and height of your frame. In this case, mine is 5120 x 2880 px. This is where you will apply the gradients and styling to, not the base.
Step Three
Change your solid fill layer to angular (or linear, or radial, it's up to you). This is the best way to blend colors without using too many layers.
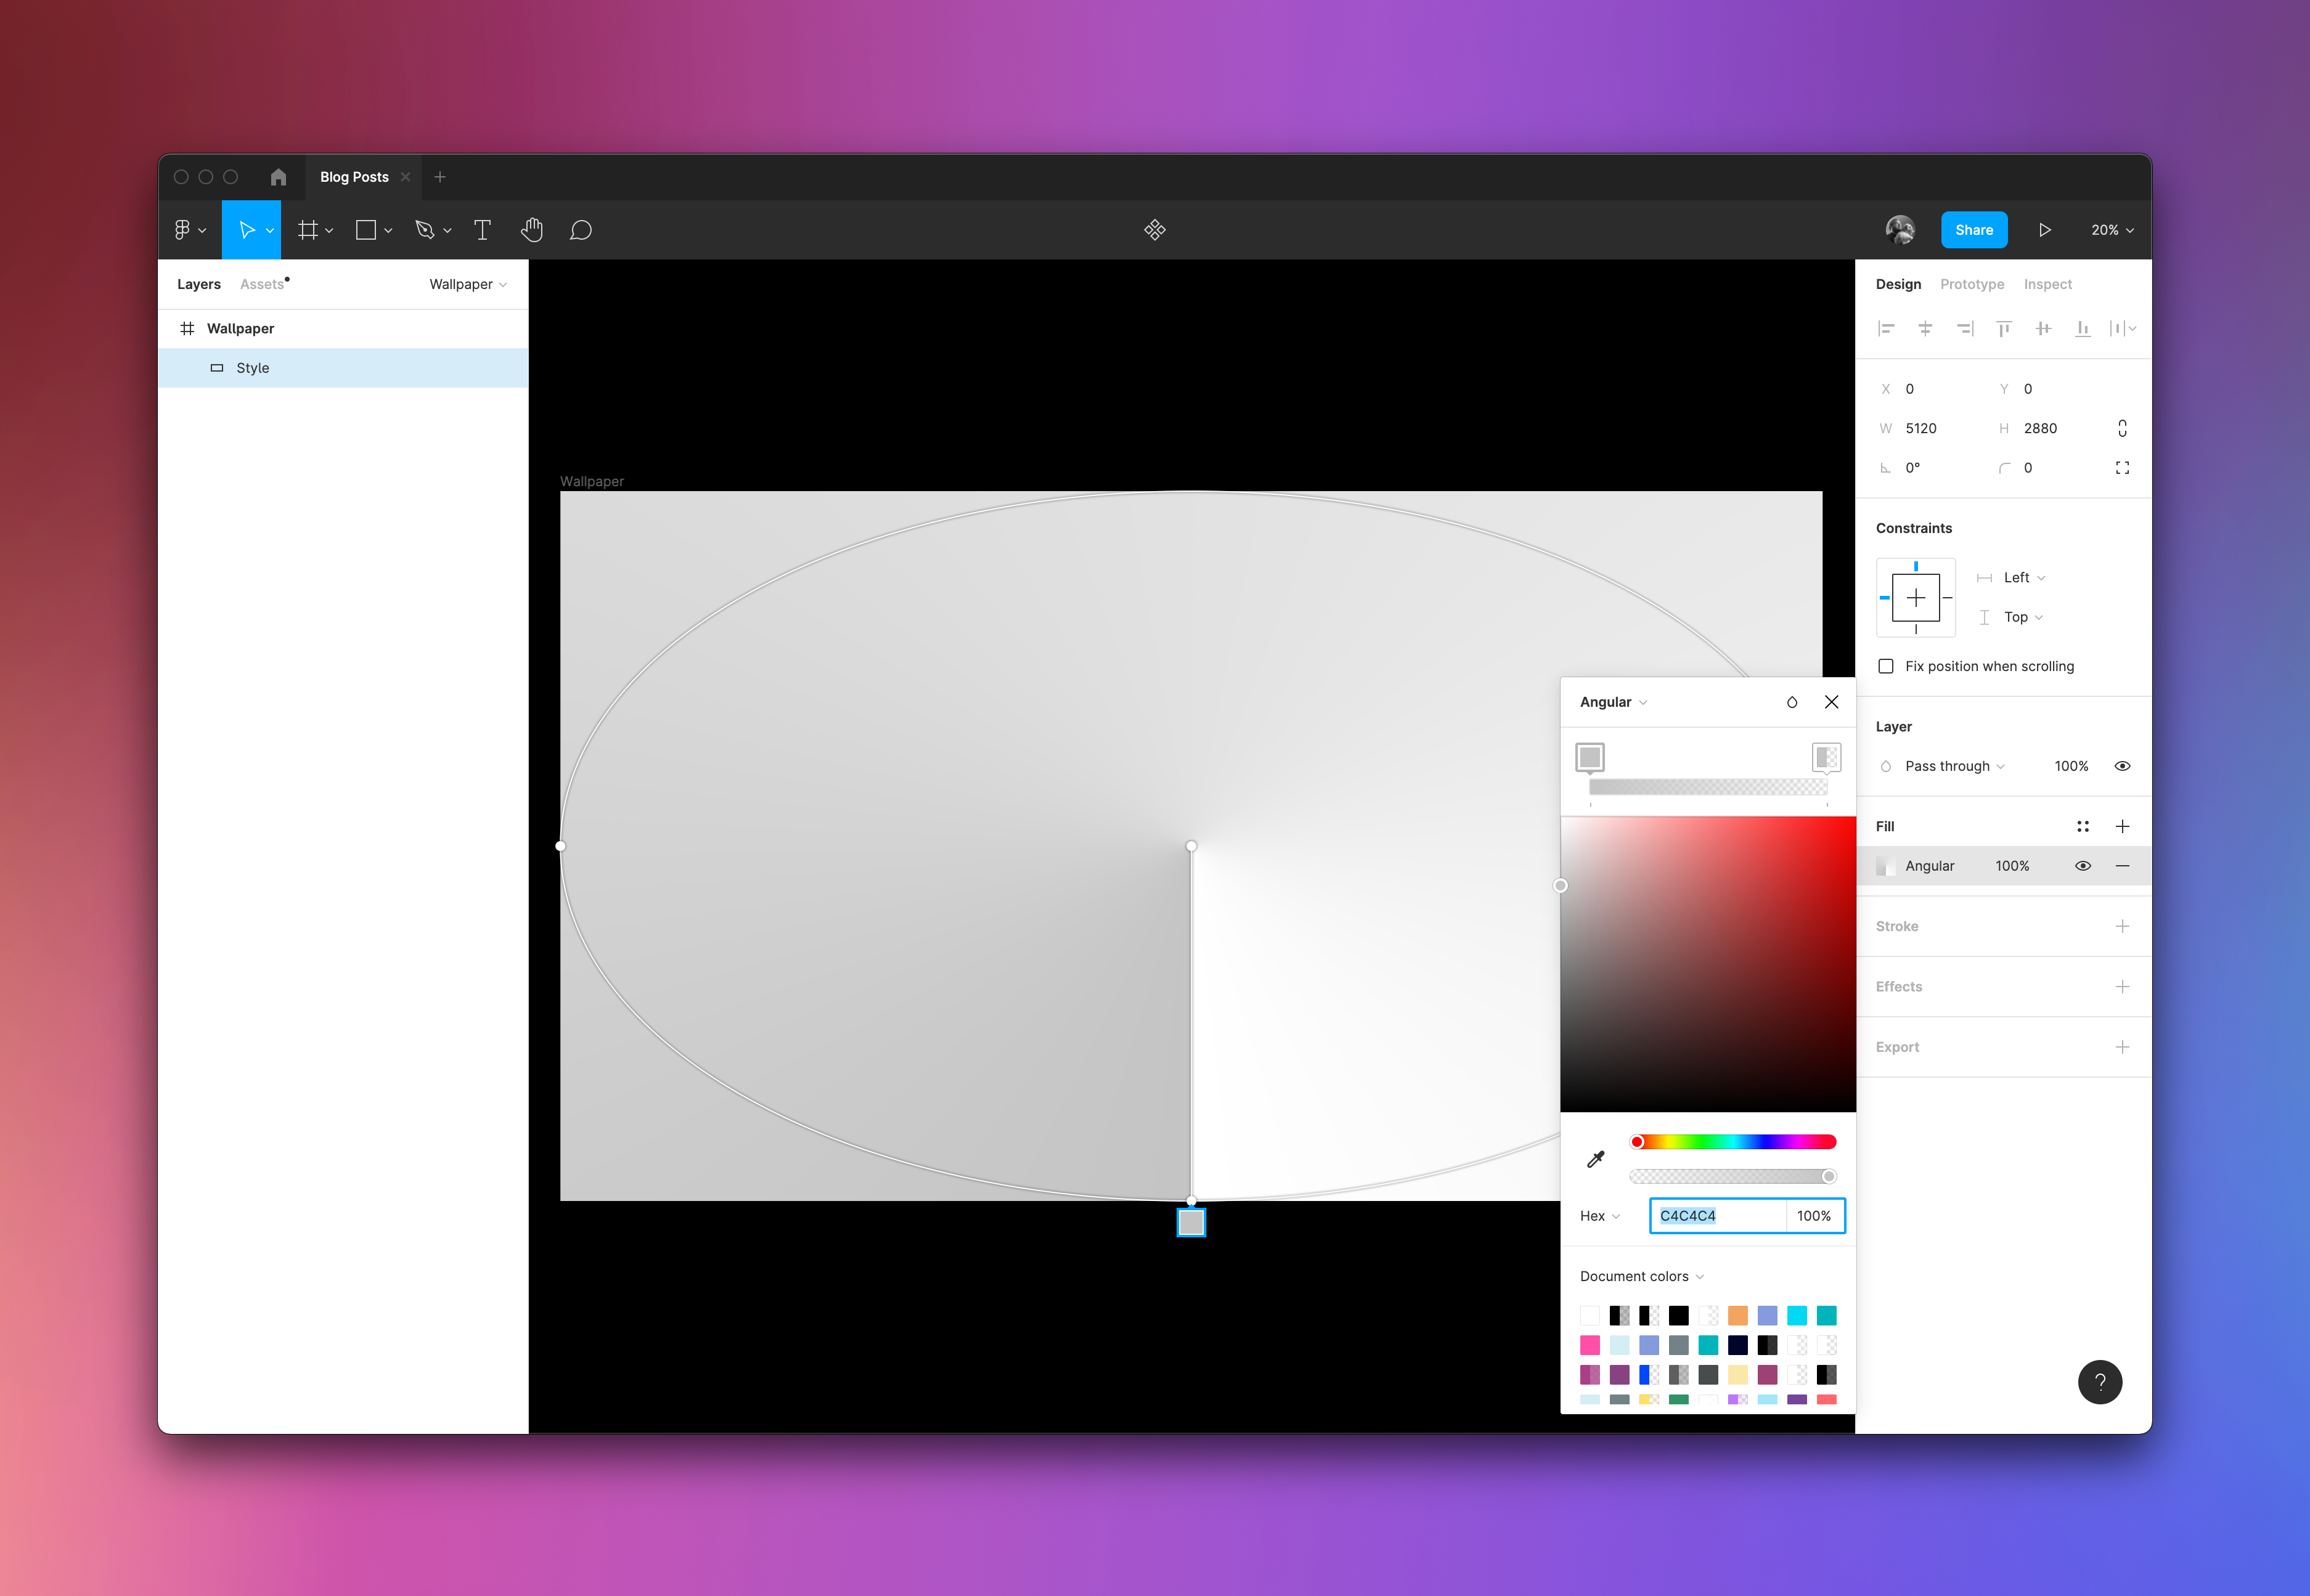
Step Four
Now, start adding colors to the gradient palette. This is where your inspiration comes in handy, because you can use the color picker to grab some colors that blend together nicely.
You can see I've added in quite a few. The more you add, the more vibrant, but also the harder it is to make them blend. I would recommend using tones that are similar, or follow one another on the color spectrum.
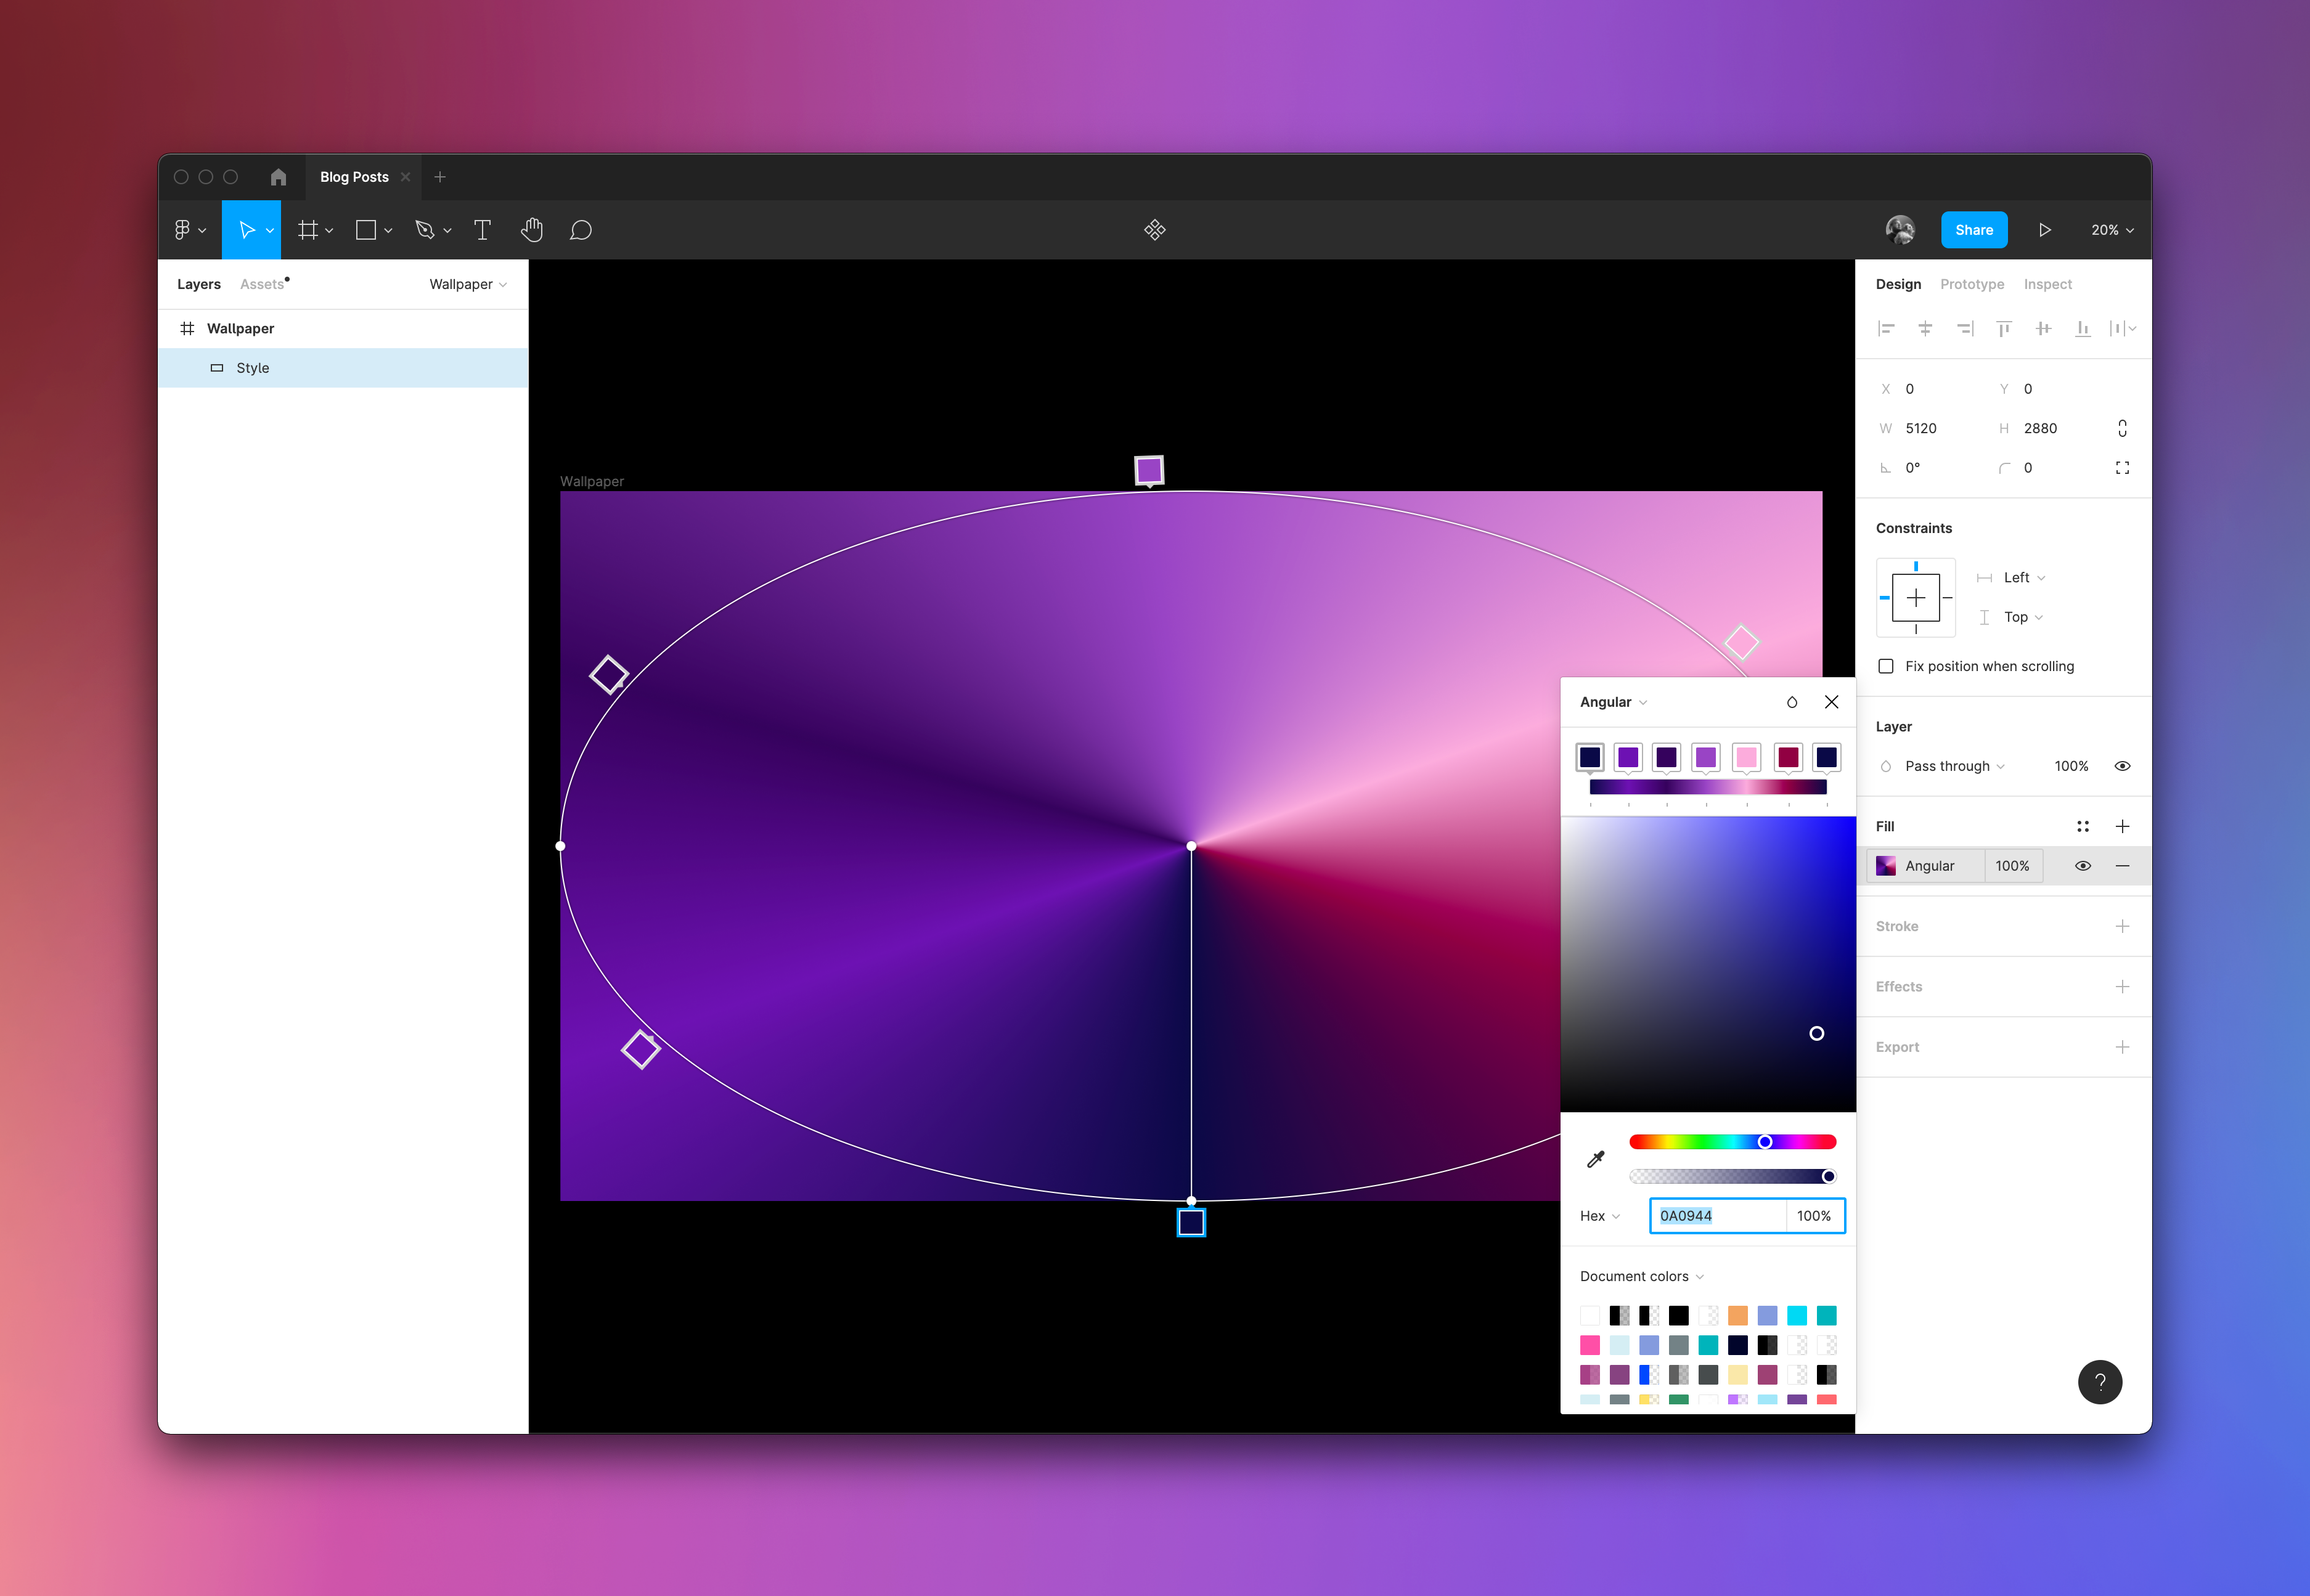
Step Five
With your colors picked, feel free to play around with the the gradient angle, size, and position of the colors. You'll need to be patient, as this can take some time to feel right.
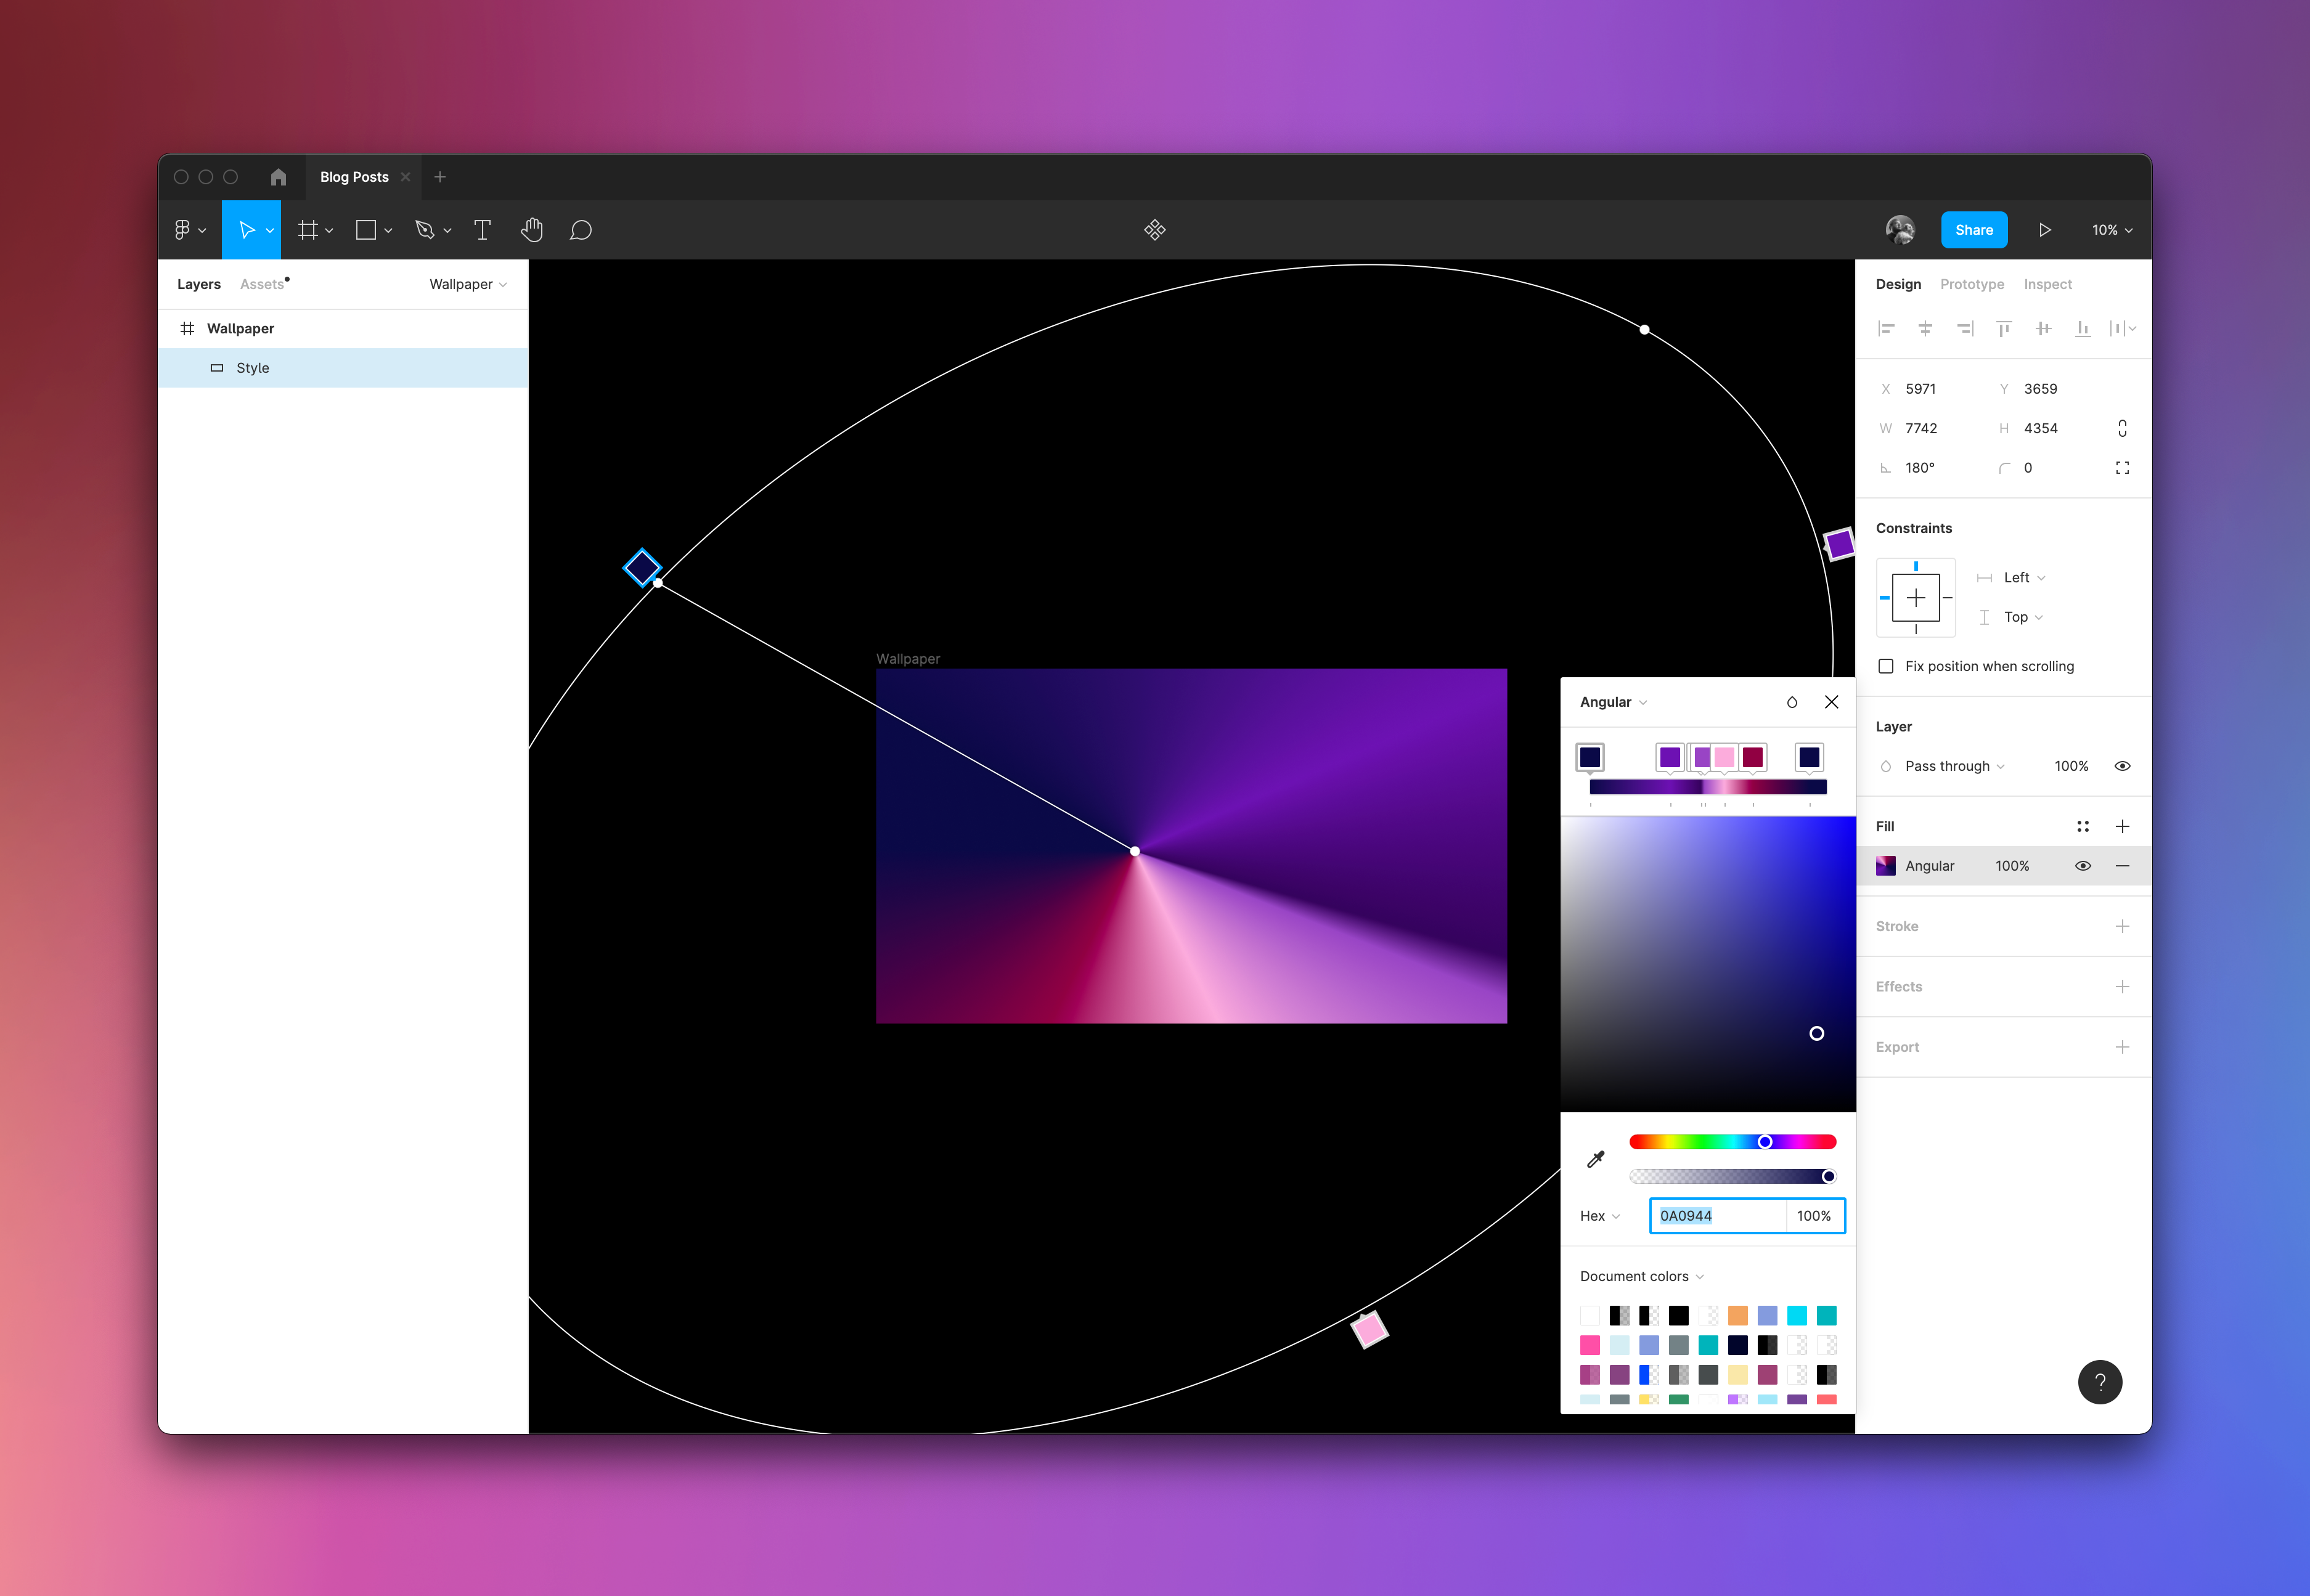
You can see in my example, I've pushed 5 out of 7 colors together, and moved the center point off to the left. This adds some complexity to the overall look.
I've also enlarged the rectangle size from it's original 5K resolution we started with. This is to make sure there's no edges bleeding in to the base in the final outcome.
Step Six
The penultimate step is to add a layer blur to the styled layer. This helps blend the colors together even more. The gradient does it to some extent, but the additional layer blur fuzes it together that little extra bit that it needs.
I've used an 800px blur as the layer effect. You can increase or reduce the amount, depending on how much you think it needs to be blended.
Final Step
And that's it. When you're happy with the composition and the overall look and feel of your wallpaper, export your frame and apply it to your desktop. This could take a few tries, as you notice some things you want to improve, or the edges don't quite blend as well as you'd like after applying the layer blur. That's where your third requirement comes in place: patience.
Get More Wallpapers
Check out this wallpaper and see our other set of wallpapers here.
If you'd like to share yours in our repository, mention us on Twitter, and we'll add it and credit you as the author. Have fun making your own!